Monday, June 6, 2016

The Boy Takes the Spotlight: DIY Farmhouse Table

Last week Nhan and I flew out to New Jersey and Philadelphia to visit his family and a few of our friends. We got to meet our new 1 week old baby niece Hannah and spend time with her wonderful big sister Gabriella. It's been quite a while since I've played with Legos and Play-doh but boy we had so much fun! 
Towards the middle of our week there, Nhan thought, why not work on a small 4 hour project that we could give to his family before we leave. We decided on a farmhouse table and benches that we saw on Pinterest. With detailed plans from Ana White and a step-by-step tutorial by Whitney and Ashley from Shanty 2 Chic we managed to complete the table over two days (not quite the 4 hour project we aimed for, but a great starter weekend project nonetheless). We bought all the wood for the benches too but never got around to that. We'll save that for our next visit I guess. 


One of the greatest things about this project was the wood came out to just under $65. Add in the screws, nails, paint, and stain and you total to about $85 which is AMAZING for a farmhouse table! These things sell for 1-2k at Pottery Barn or Restoration Hardware. 
Note this ad I saw online today for a very similar table but check out that price tag. Yikes!

And now you can do it yourself for under $100 in just two days. 

See the links above from Ana White and Shanty 2 Chic for original full blue prints and step-by-step tutorials. The following is our execution of the originals linked above. We take no credit for the original idea/plans. 

Here is a general guide of what we did.  See Ana White's webpage for full detailed plans and Shanty 2 Chic's webpage for detailed instructions. 

1) Cut all wood pieces as noted above

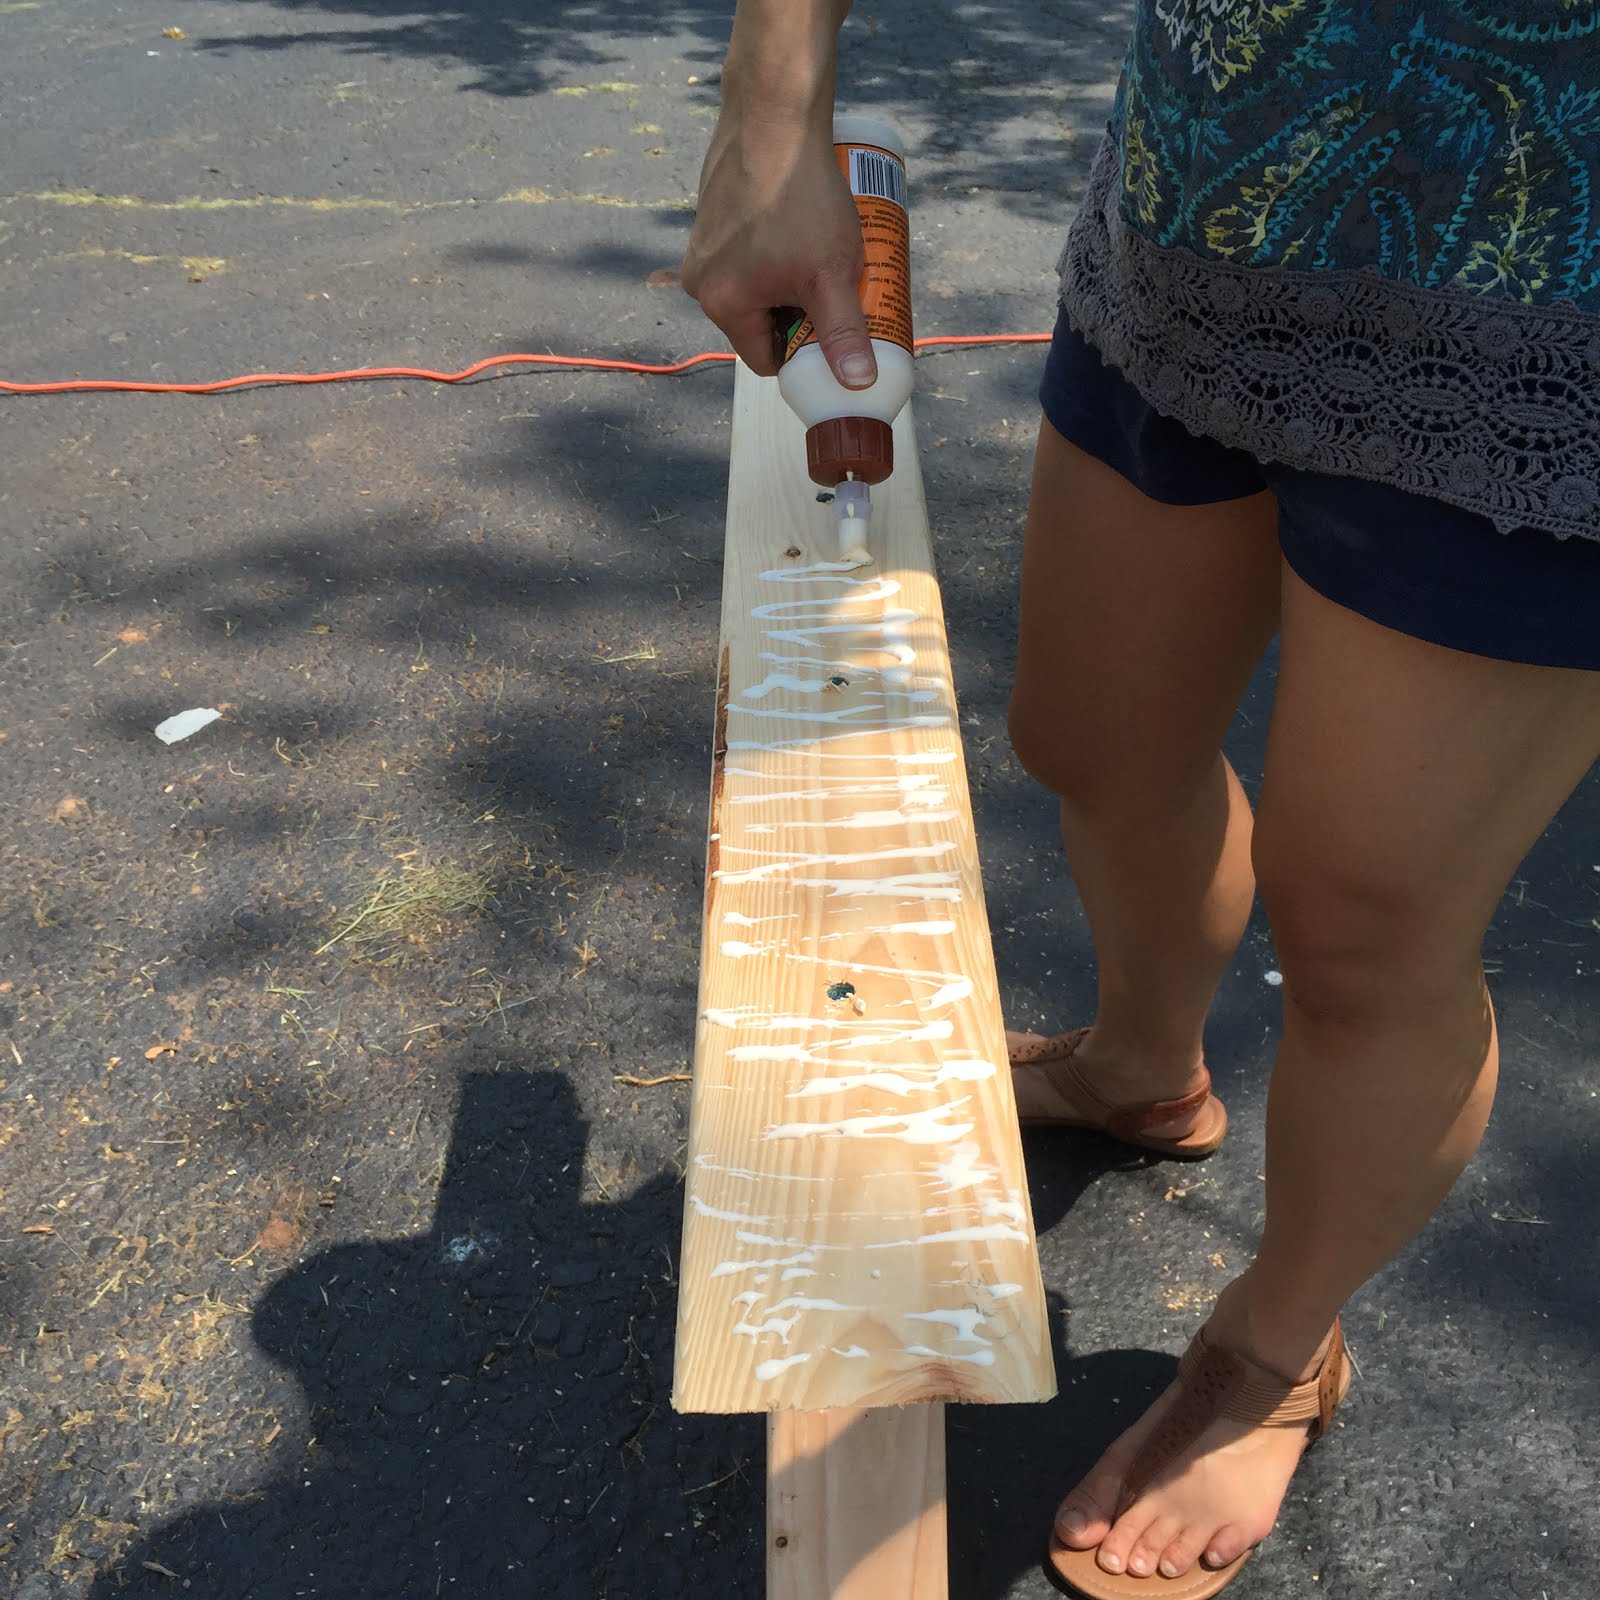
2) Arrange 2''x4''x20'' piece along with 2 - 2''x4''x11 3/8'' to make a K. Use wood glue and screw pieces together. Make 4 of these. These will be the vertical pieces of the finished table legs pictured below (2 for each leg). Glue two of these "K's" back to back and screw them together to create the center vertical pieces. Remember to pre-drill holes before adding screws to prevent wood from cracking. 
3) Next glue and screw together 1''x4''x28 3/8'' to the top and bottom of each leg. 
4) Place two pieces of 2''x4''x32 5/8'' on top of the 1x4 piece you just assembled. draw a line on the middle block between the 28 3/8'' piece and the 32 5/8'' piece on each side. Make an angular cut using your miter saw. I don't have the exact angled measured here. What you want to end up with is pictured above, where the middle block's shorter side will be a total length of 28 3/8'' and the longer side will be 32 5/8''. Glue and attach all these pieces together with 3'' wood screws. Clamp pieces together to help stabilize before adding screws. 
5) Lastly attach the foot pieces to the bottoms of each leg. I placed them 0.75'' outside of the edge of the bottom piece as pictured above. 
6) Once you have both legs done you are ready to attach the two center support beams (2''x4''x65''). We attached this by using our brand new Kreg jig to add pocket holes to the ends of each 2x4 and used 2.5'' pocket hole screws to attach each beam to the legs as pictured below. Try to do this on a flat surface so your table doesn't end up crooked. We ended up taking this table inside to assemble to make sure everything was straight and even, then took it back outside to finish once the center 65'' support beams were in place. 
7) Next, attach the diagonal support beams. We also used the Kreg jig to create pocket holes for this part as well. This project was our first time using a Kreg. We debated for a while whether to buy one or not, but I'm so glad we did. It definitely came in handy and I can imagine all the other projects we can use this for. 
Making the pocket holes with our new Kreg Jig (blue little gadget pictured above)
8) Sand all pieces and wipe it down with a damp and dry cloth. It's time to paint and stain! Since we wanted a white base and brown stained top, we decided it would be easiest to do each separately and let them dry before we attached them. 
We also planned to use this table outdoors so depending on what you decide, make sure to select the right paint grade. We ended up picking a patio/deck outdoor paint to seal in the wood. 
9) Let it dry overnight
10) Assemble! Place boards one at a time onto the base with 12 inches hanging off each side, lined up in the middle. We left about a pin's width of space between each board for water drainage since it will serve as an outdoor table. No need to do this if you are planning on using the table indoors. We used 3'' galvanized finish nails (3 nails per each side of the board).

The finished product! I was seriously hoping I would wake up early enough to assemble this so we could take pictures of it before the sun was up high overhead. But as it turned out, we woke up late and finished the table around noon = worst time for pictures. So please excuse the shadows and areas of overexposed lighting.  

Now we just have to make one for our own backyard. Add a couple benches and we'll be ready to entertain for the summer!

2 comments:

  1. The table turned out so good!

    ReplyDelete
    Replies
    1. Thanks Jamie! We are hoping to build one at our house at some point too :D

      Delete